




Descargo de responsabilidad: La información presentada en este artículo tiene fines exclusivamente educativos e informativos y no sustituye el consejo médico profesional. Consulta siempre con tu médico o con un profesional de la salud calificado antes de hacer cambios en tu alimentación, rutina de ejercicio o cualquier aspecto relacionado con tu salud. Cada persona tiene necesidades y respuestas diferentes.
La inflamación del estómago puede cambiar por completo cómo te sientes durante el día. Esa sensación de pesadez, el abdomen hinchado o los gases pueden aparecer incluso después de comidas que parecían normales.
Si te ha pasado, es normal que busques alternativas sencillas para sentirte más cómodo.
Un jugo para desinflamar el estómago preparado con ingredientes frescos puede formar parte de esos pequeños cambios que ayudan a cuidar la digestión. La clave está en elegir bien los ingredientes y mantener expectativas realistas.
Aquí te comparto qué dice la evidencia sobre algunos de ellos y siete recetas fáciles que puedes incorporar a tu rutina.
Pro tip: Aliviar la sensación de inflamación suele empezar por cambios sencillos en la alimentación. Si entre ellos quieres incluir jugos frescos, un extractor Hurom puede ser un gran aliado para prepararlos de forma práctica. Más adelante veremos por qué.

¿Por qué se inflama el estómago y qué puedes hacer al respecto?
Sentir el abdomen hinchado es mucho más común de lo que parece. Puede aparecer después de comer, al despertar o incluso al final del día, y no siempre significa que hayas comido demasiado o que algo "te cayó mal".
De hecho, una guía clínica publicada en United European Gastroenterology Journal estima que cerca del 19 % de la población experimenta hinchazón abdominal y alrededor del 9 % presenta distensión visible.
Pero eso no es todo. Un estudio internacional citado por los autores encontró que estos síntomas afectan aproximadamente al 18 % de las personas en todo el mundo.
La inflamación de estómago puede tener distintas causas y, muchas veces, intervienen varios factores al mismo tiempo. Por eso, si las molestias están relacionadas con la alimentación o con algunos hábitos del día a día, pequeños cambios pueden ayudarte a sentirte mejor.
Antes de ver qué ingredientes pueden aportar a tu digestión, vale la pena entender por qué aparece esa sensación de pesadez.
Causas más comunes de la inflamación abdominal
Aunque solemos relacionar la hinchazón con un exceso de gases, la realidad es un poco más compleja. En muchos casos, intervienen varios mecanismos del sistema digestivo al mismo tiempo, como tránsito intestinal lento, una dieta rica en carbohidratos, microbiota intestinal y ciertas intolerancias.
Estas son algunas de las causas más frecuentes:
-
Algunos alimentos fermentan más durante la digestión. Ciertos carbohidratos, conocidos como FODMAP, atraen agua hacia el intestino y son fermentados por las bacterias intestinales. En personas sensibles, esto puede favorecer los gases y la sensación de hinchazón.
-
El intestino trabaja más despacio de lo normal. Cuando el tránsito intestinal es lento o hay estreñimiento, es más fácil sentir pesadez, presión o distensión abdominal.
-
El intestino puede volverse más sensible. Algunas personas perciben como molestos cambios normales que otras apenas notan. Es decir, una cantidad habitual de gas o el estiramiento natural del intestino puede generar una sensación mucho más intensa de inflamación.
-
Los músculos del abdomen no siempre reaccionan igual después de comer. En algunas personas, el diafragma y la pared abdominal responden de una forma distinta tras las comidas, haciendo que el abdomen sobresalga aunque no exista un aumento importante del contenido intestinal.
-
La microbiota intestinal también influye. Los cambios en las bacterias que viven en el intestino pueden modificar la forma en que fermentan los alimentos y contribuir a la sensación de hinchazón.
-
Algunas intolerancias o trastornos digestivos pueden estar detrás del problema. La dificultad para absorber la lactosa, la fructosa u otros carbohidratos, así como condiciones como el síndrome del intestino irritable o la dispepsia funcional, también pueden provocar inflamación abdominal con frecuencia.
A todo esto se suman los hábitos del día a día. Comer muy rápido, hacerlo bajo estrés o consumir comidas muy abundantes puede hacer que las molestias sean todavía más evidentes, incluso cuando la causa principal sea otra.
Señales que indican que tu digestión necesita apoyo
Tu digestión necesita apoyo cuando empiezas a observar estas señales:
-
Hinchazón que aparece con frecuencia después de comer.
-
Sensación de abdomen tenso o lleno durante varias horas.
-
Gases que se repiten casi todos los días.
-
Pesadez incluso después de comidas normales.
-
Molestias digestivas que mejoran cuando haces cambios en tu alimentación o en tus horarios.
Prestar atención a estos patrones de encima puede ayudarte a identificar qué alimentos o hábitos no te están sentando bien.
Todos podemos sentirnos pesados después de una comida especial. El problema aparece cuando esa sensación empieza a formar parte de la rutina.
Pro tip: Si la hinchazón es frecuente, intensa, aparece de forma repentina o se acompaña de otros síntomas, conviene consultar a un profesional de salud para descartar una causa subyacente.
¿Qué papel tienen los alimentos en la inflamación estomacal?
Ciertos alimentos pueden favorecer o reducir la inflamación estomacal según cómo afectan la mucosa, la acidez y la microbiota digestiva. A continuación, te explicamos los mecanismos implicados y qué alimentos influyen en cada caso.
¿Por qué ciertos alimentos generan inflamación estomacal?
La inflamación estomacal ocurre cuando un alimento irrita la mucosa, altera la acidez gástrica, desequilibra la microbiota o activa una respuesta inmune, provocando que el cuerpo libere sustancias inflamatorias en la zona afectada. Esto puede suceder de varias formas:
-
Irritación directa de la mucosa: alimentos ácidos, picantes o el alcohol dañan la capa protectora del estómago y dejan el tejido más expuesto.
-
Exceso de acidez gástrica: el café, el alcohol y las comidas muy grasas estimulan una mayor producción de ácido, lo que con el tiempo desgasta la mucosa.
-
Desequilibrio de la microbiota: los ultraprocesados y el exceso de azúcar favorecen a las bacterias menos beneficiosas, generando un desajuste que activa la respuesta inflamatoria.
-
Sensibilidad a ciertas proteínas: en el caso de intolerancias, el sistema inmune identifica proteínas como el gluten como una amenaza y reacciona liberando sustancias inflamatorias.
-
Digestión más lenta: las comidas copiosas o muy grasas permanecen más tiempo en el estómago, prolongando el contacto del tejido con el ácido y aumentando la irritación.
¿Qué alimentos favorecen o reducen la inflamación estomacal?
No todos los alimentos afectan al estómago de la misma manera: algunos tienden a irritarlo, mientras que otros ayudan a calmarlo.
Alimentos que pueden favorecer la inflamación:
-
Frituras y alimentos muy grasos
-
Picantes y especias fuertes
-
Café, alcohol y bebidas carbonatadas
-
Cítricos y tomate, en personas sensibles
-
Ultraprocesados con aditivos y azúcares refinados
Alimentos que pueden ayudar a calmarla:
-
Jengibre y manzanilla
-
Avena, plátano y arroz blanco
-
Alimentos ricos en fibra soluble
-
Yogur con probióticos
-
Frutas y verduras frescas, ricas en agua
Hablaremos de esto con más detalle en un momento.

Cómo ciertos alimentos pueden generar hinchazón sin darte cuenta
En ocasiones, el problema no está en un ingrediente específico, sino en la combinación de varios factores.
Por ejemplo, una comida muy abundante, rica en grasas y acompañada de bebidas gaseosas puede hacer que la digestión sea más lenta y aumentar la sensación de pesadez.
También hay personas que son más sensibles a ciertos carbohidratos fermentables. Estos llegan al intestino, donde las bacterias los fermentan y producen gases como parte de un proceso completamente natural. Cuando existe mayor sensibilidad digestiva, esa fermentación puede sentirse mucho más de lo habitual.
La cantidad también importa. Incluso alimentos saludables pueden resultar difíciles de tolerar cuando se consumen en porciones muy grandes o demasiado rápido.
Por qué elegir opciones más ligeras puede marcar la diferencia
Cuando el sistema digestivo no tiene que procesar comidas demasiado pesadas, es más fácil sentirse cómodo durante el resto del día.
Eso no significa comer menos, sino buscar preparaciones que aporten frescura, hidratación y una buena variedad de frutas y verduras.
Muchas personas también notan que repartir mejor las comidas, masticar con calma y evitar comer con prisas ayudan tanto como cambiar los ingredientes del plato.
Los jugos frescos como forma práctica de consumir alimentos más ligeros
Aquí es donde los jugos naturales pueden convertirse en un buen complemento.
Yo suelo verlos como una forma práctica de incorporar varios ingredientes frescos en un solo vaso, especialmente en esos días en los que prefiero algo ligero por la mañana o después de una comida abundante.
Además de aportar hidratación, facilitan incluir frutas y verduras que quizá no consumirías con tanta frecuencia. Si además utilizas un extractor de prensado en frío, preparar este tipo de jugos suele resultar mucho más práctico como parte de tu rutina.
Pro tip: Los jugos frescos funcionan mejor cuando forman parte de un conjunto de hábitos saludables. Comer despacio, mantener una buena hidratación y llevar una alimentación variada siguen siendo la base para cuidar tu digestión.
¿Qué ingredientes puedo usar en un extractor de prensado en frío para ayudar a desinflamar el estómago?
No existe un ingrediente capaz de eliminar la inflamación abdominal por sí solo.
Sin embargo, sí hay frutas, verduras y plantas que se han estudiado por su relación con la digestión, la regularidad intestinal o el alivio de algunas molestias digestivas.
Estos son algunos de ellos:
-
Pepino: Gracias a su alto contenido de agua y a su aporte de potasio, es una opción muy refrescante que ayuda a mantener una buena hidratación. Además, tiene un sabor suave que combina bien con frutas y otras verduras.
-
Apio: También aporta mucha agua y un toque fresco al jugo. Es una forma sencilla de sumar más verduras a tu alimentación sin que el sabor resulte demasiado intenso.
-
Aloe vera: Se ha usado durante mucho tiempo como apoyo para el bienestar digestivo. Además, según un estudio en Corea del Sur, las personas con síndrome del intestino irritable que consumieron aloe vera mostraron una mejoría general de sus síntomas.
-
Jengibre: Es uno de los ingredientes más conocidos cuando se habla de digestión. Según un ensayo clínico en Irán, su consumo ayuda a mejorar síntomas como estreñimiento, náuseas, hinchazón y dolor abdominal. Su sabor intenso hace que una pequeña cantidad sea suficiente en la mayoría de las recetas.
-
Piña: Contiene bromelina, un grupo de enzimas digestivas que participan en la descomposición de las proteínas. Además, aporta vitamina C y un dulzor natural que equilibra recetas con verduras.
-
Papaya: Destaca por su contenido de papaína, otra enzima digestiva relacionada con la digestión de las proteínas. Por eso suele aparecer en recetas pensadas para consumir después de las comidas.
-
Menta: Su sabor refrescante combina muy bien con cítricos y pepino. Tradicionalmente se ha asociado con una sensación de alivio frente a los gases y la pesadez.
-
Limón: Además de aportar vitamina C, ayuda a dar frescura al jugo sin necesidad de añadir azúcar. Un pequeño toque suele ser suficiente para realzar el sabor del resto de los ingredientes.
-
Hinojo: Su característico sabor anisado lo convierte en un ingrediente muy popular en preparaciones pensadas para acompañar la digestión. Además, combina muy bien con frutas como la pera, la manzana y los cítricos.
-
Kiwi: Aporta vitamina C, fibra y un sabor fresco que funciona muy bien en jugos verdes y combinaciones con pepino o apio. También es una fruta muy utilizada en recetas orientadas al bienestar digestivo.
-
Ciruelas: Son una buena opción si buscas favorecer la regularidad intestinal. Un ensayo clínico en Japón observó que el jugo de ciruela ayudó a aliviar el estreñimiento sin aumentar gases ni otras molestias digestivas.
Como ves, muchos de estos ingredientes aportan beneficios diferentes. Lo interesante es que puedes combinarlos de distintas maneras para preparar jugos frescos que se adapten mejor a tus gustos y a tu rutina.

¿Cuál es el mejor jugo para desinflamar el estómago de forma natural? 7 recetas que puedes probar
Si buscas el mejor jugo para desinflamar el estómago, probablemente esperes encontrar una receta que funcione para cualquier persona.
La realidad es un poco distinta. La inflamación abdominal puede tener causas muy diferentes, así que también cambian los ingredientes que mejor sientan en cada caso.
Lo que sí puedes hacer es elegir recetas con frutas, verduras y otros ingredientes relacionados con una buena digestión. Las que siguen a continuación son un buen punto de partida.
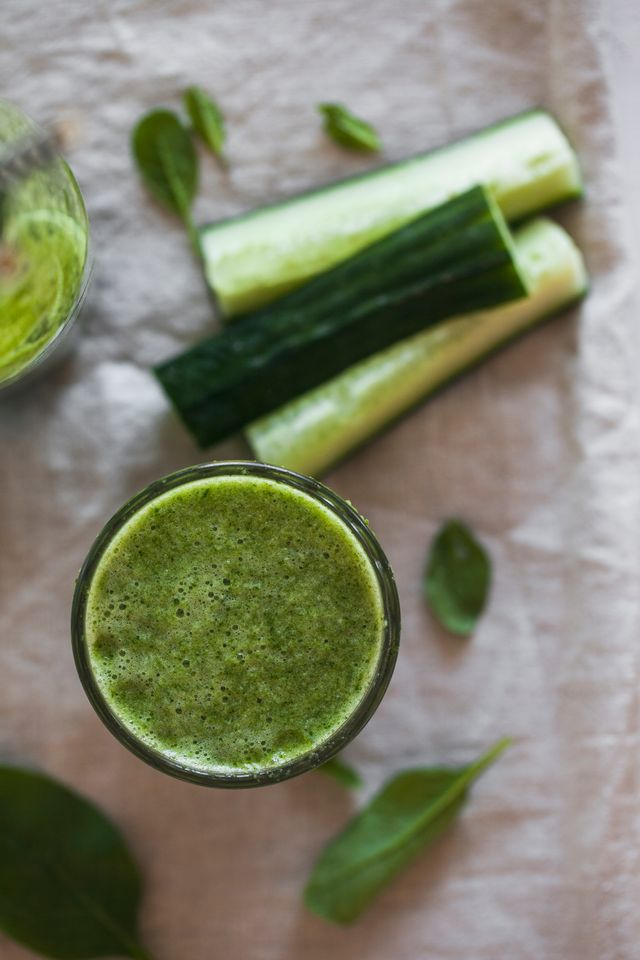
1. Jugo verde para desinflamar el estómago: pepino, apio y limón
Si hay una combinación que nunca falta en las recetas para una digestión ligera, es esta.
El pepino y el apio crean una base muy fresca, mientras que el limón aporta el toque justo de acidez para equilibrar el sabor. El resultado es un jugo verde sencillo, refrescante y fácil de disfrutar en cualquier momento del día.
¿Por qué funciona?
La mayor parte de esta receta está formada por ingredientes con un alto contenido de agua, algo que ayuda a mantener una buena hidratación. El pepino también aporta potasio, un mineral que participa en el equilibrio normal de líquidos del organismo.
Por su parte, el apio suma frescura y compuestos vegetales con actividad antioxidante, mientras que el limón añade vitamina C y realza el sabor de forma natural, sin necesidad de incorporar azúcar.
Ingredientes:
-
2 pepinos.
-
120 g de apio.
-
1 limón, pelado.
Preparación:
-
Lava bien los pepinos y el apio.
-
Pela el limón.
-
Corta los pepinos únicamente si son demasiado grandes para la abertura del extractor.
-
Introduce los pepinos, el apio y el limón en el extractor, alternándolos.
-
Sirve el jugo y disfrútalo recién preparado.
2. Mejor jugo para reducir la hinchazón del estómago por la mañana: Cubitos verdes de kiwi, pepino y apio
No todos los jugos para desinflamar el estómago tienen que prepararse justo antes de beberlos.
Esta receta está pensada para quienes prefieren dejar todo listo con antelación. Preparas el jugo una sola vez, lo congelas en cubitos y cada mañana solo necesitas añadir uno a un vaso de agua.
Es una forma muy práctica de empezar el día con una bebida fresca, especialmente si las mañanas suelen ir con prisa.
¿Por qué funciona?
El gran protagonista aquí es el kiwi. Un ensayo clínico internacional encontró que consumir kiwi verde de forma habitual ayudó a mejorar la regularidad intestinal y el bienestar digestivo en personas con estreñimiento.
El resto de ingredientes complementa muy bien la mezcla. Como vimos antes, el jengibre es uno de los alimentos más estudiados por su relación con la digestión. El pepino y el apio mantienen el perfil fresco y ligero de la receta, mientras que la lima añade un toque cítrico que equilibra todos los sabores.
Ingredientes:
-
1 pepino mediano.
-
4 tallos de apio.
-
2 kiwis, pelados.
-
1 lima, pelada.
-
1 trozo de jengibre fresco de 2,5 cm.
Preparación:
-
Lava bien todos los ingredientes.
-
Pela los kiwis y la lima.
-
Corta únicamente los ingredientes que sean demasiado grandes para la abertura del extractor.
-
Introduce todos los ingredientes en el extractor, alternándolos.
-
Vierte el jugo en una bandeja para cubos de hielo medianos o grandes y congela hasta que esté completamente sólido.
-
Por la mañana, añade un cubo a un vaso de agua, deja que se derrita y disfrútalo.
-
Opcional: Una vez congelados, puedes pasar los cubos a un recipiente apto para congelador para almacenarlos con mayor facilidad.
3. Mejor jugo para después del almuerzo: Papaya, manzana y arándanos azules
Después del almuerzo, muchas personas prefieren algo que se sienta fresco, pero que al mismo tiempo tenga un sabor agradable y naturalmente dulce.
Esta combinación consigue ese equilibrio gracias a la papaya y la manzana, mientras que los arándanos azules añaden un toque ligeramente ácido que hace el jugo mucho más interesante.
¿Por qué funciona?
En esta receta, la papaya se lleva toda la atención. Contiene papaína, una enzima digestiva que participa en la descomposición de las proteínas y que ha despertado el interés de los investigadores por su posible papel en la digestión.
La manzana y los arándanos azules completan muy bien la mezcla. Ambos aportan polifenoles y otros compuestos antioxidantes que enriquecen el perfil nutricional del jugo.
Ingredientes:
-
500 g de papaya.
-
1 manzana.
-
50 g de arándanos azules.
Preparación:
-
Lava bien la manzana y los arándanos azules.
-
Pela la papaya y retira las semillas.
-
Corta la papaya y la manzana únicamente si son demasiado grandes para la abertura del extractor.
-
Introduce los ingredientes en el extractor, alternando la papaya con la manzana y los arándanos azules.
-
Vierte el jugo en un vaso y tómalo recién preparado.
4. Mejor jugo para después de la cena: Arándanos rojos, manzana y jengibre
Al terminar el día, muchas personas buscan una bebida que resulte ligera y refrescante, en lugar de algo demasiado dulce. Ese es precisamente el punto fuerte de esta receta.
¿Por qué funciona?
Los arándanos rojos son los protagonistas de esta receta. Al igual que los azules, destacan por su contenido de polifenoles y otros compuestos que llegan prácticamente intactos al colon, donde sirven de alimento para parte de la microbiota intestinal. Por eso han despertado el interés de los investigadores por su posible papel en la salud digestiva.
Ingredientes:
-
75 g de arándanos rojos frescos.
-
1 manzana.
-
½ pepino.
-
1 trozo de jengibre fresco de 2 cm.
Preparación:
-
Lava bien todos los ingredientes.
-
Corta la manzana y el pepino solo si son demasiado grandes para la abertura del extractor.
-
Introduce los ingredientes en el extractor, alternando los arándanos rojos con la manzana y el pepino.
-
Añade el jengibre durante la extracción.
-
Remueve suavemente y tómalo recién preparado.
5. Mejor jugo para reducir la hinchazón del estómago después de comer: Hinojo, pera y jengibre
Si nunca has probado el hinojo en un jugo, esta receta puede sorprenderte. El resultado es una bebida fresca, aromática y menos dulce que otras opciones, ideal para quienes prefieren sabores más suaves después de comer.
¿Por qué funciona?
El hinojo se ha utilizado durante generaciones para acompañar la digestión, y hoy sabemos un poco mejor por qué. Un estudio en Alemania observó que ayudó a relajar una parte del estómago mientras estimulaba los movimientos de otra, favoreciendo un proceso digestivo más coordinado.
Para equilibrar su sabor anisado, la pera aporta un dulzor natural y compuestos vegetales antioxidantes. Mientras tanto, el apio mantiene el jugo fresco y ligero. El toque final lo pone el jengibre, con ese punto ligeramente especiado que combina muy bien.
Ingredientes:
-
1 bulbo pequeño de hinojo o ½ bulbo mediano.
-
1 pera madura.
-
1 tallo de apio.
-
1 limón, pelado.
-
1 trozo de jengibre fresco de 2,5 cm.
Preparación:
-
Lava bien el hinojo, la pera, el apio y el jengibre.
-
Pela el limón.
-
Corta el hinojo y la pera solo si son demasiado grandes para la abertura del extractor.
-
Introduce los ingredientes en el extractor, alternando la pera y el hinojo con el apio, el limón y el jengibre.
-
Remueve suavemente el jugo y tómalo recién preparado.
6. Jugo para desinflamar el vientre bajo: Piña, pepino y limón
Hay días en los que la sensación de hinchazón parece concentrarse especialmente en la parte baja del abdomen. Cuando eso ocurre, muchas personas prefieren bebidas frescas y ligeras que no se sientan pesadas. Esta combinación ofrece precisamente eso.
¿Por qué funciona?
La piña, de la que ya hablamos antes, vuelve a destacar por su contenido de bromelina, un grupo de enzimas digestivas relacionadas con la digestión de las proteínas. Su dulzor natural se equilibra muy bien con la frescura del pepino y el toque cítrico del limón, dando como resultado un jugo ligero y muy refrescante.
Ingredientes:
-
½ piña mediana.
-
1 pepino grande.
-
1 limón pequeño, pelado.
Preparación:
-
Lava bien la piña, el pepino y el limón.
-
Retira la cáscara y la corona de la piña y pela el limón.
-
Corta la piña y el pepino solo si son demasiado grandes para la abertura del extractor.
-
Introduce los ingredientes en el extractor, alternando la piña y el pepino con el limón.
-
Sírvelo fresco y tómalo al momento.

7. Jugo para desinflamar el cuerpo: Zanahoria, piña, jengibre y cúrcuma
No toda la inflamación se siente solo en el estómago. Si también quieres incorporar ingredientes relacionados con una respuesta inflamatoria saludable en el organismo, esta receta puede ser un buen punto de partida.
¿Por qué funciona?
La cúrcuma destaca por su contenido de curcuminoides, compuestos ampliamente estudiados por sus propiedades antioxidantes y por su relación con los procesos inflamatorios del organismo.
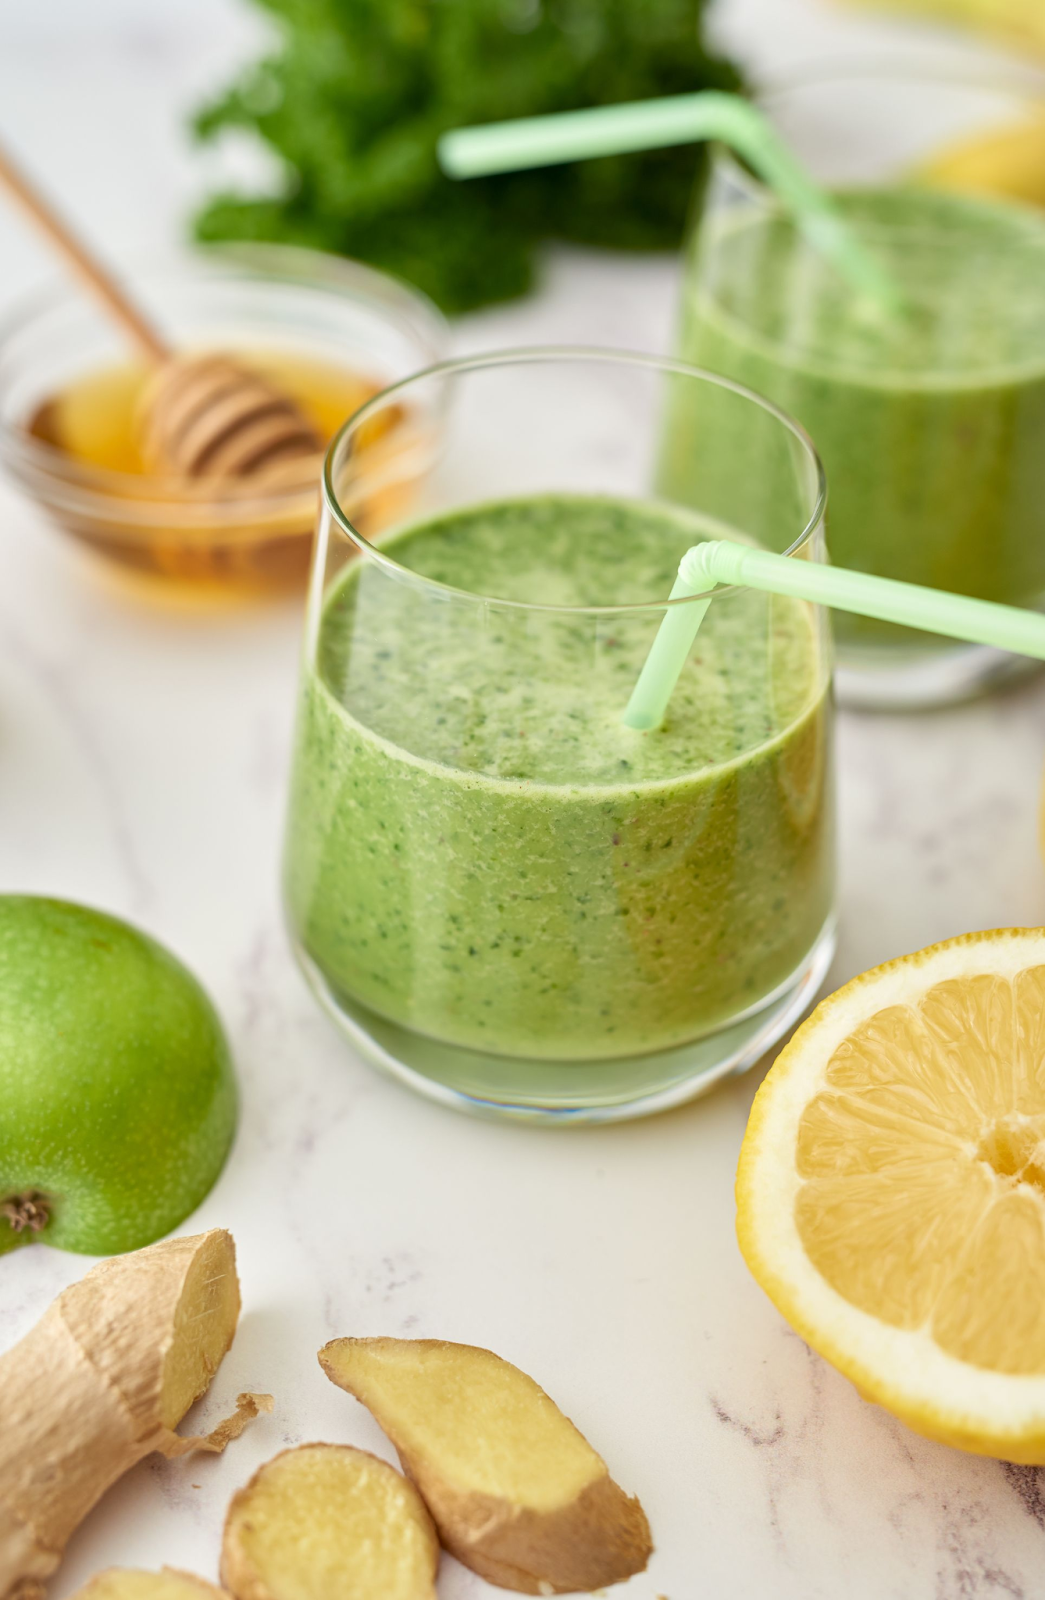
A partir de ahí, el resto de ingredientes ayuda a completar una mezcla muy equilibrada. El jengibre acompaña muy bien a la cúrcuma, mientras que la zanahoria y la col rizada aportan carotenoides, vitamina C y otros antioxidantes. Para terminar, la piña añade un dulzor natural que hace el jugo mucho más agradable.
Ingredientes:
-
2 zanahorias medianas.
-
1 taza de piña.
-
6 hojas de col rizada.
-
1 trozo de jengibre fresco de 2 cm.
-
1 trozo de cúrcuma fresca de 1 cm.
Preparación:
-
Lava bien las zanahorias, la col rizada, el jengibre y la cúrcuma.
-
Retira la cáscara de la piña.
-
Corta la piña y las zanahorias solo si son demasiado grandes para la abertura del extractor.
-
Introduce los ingredientes en el extractor, alternando las hojas de col rizada con los ingredientes más firmes.
-
Mezcla ligeramente el jugo una vez terminado y sírvelo recién hecho.
Pro tip: A veces la inflamación no afecta solo al estómago. Si también quieres incorporar alimentos a tu dieta que tengan una respuesta inflamatoria saludable en todo el organismo, dale un vistazo a estos jugos para desinflamar el cuerpo.
Cómo influye el método de preparación en tus jugos digestivos
Los ingredientes son importantes, pero no son el único factor que influye en el resultado final. La forma en que preparas el jugo también cambia su textura, su consistencia e incluso la experiencia al tomarlo.
No significa que exista un único método correcto. Cada opción tiene sus ventajas y puede adaptarse mejor a distintas necesidades.
Lo importante es entender qué ofrece cada una para elegir la que mejor encaje con tu rutina y con el tipo de jugo que prefieres.
Diferencias entre licuadora, extractor centrífugo y extractor de prensado en frío
Aunque los tres permiten preparar bebidas con frutas y verduras, funcionan de maneras muy diferentes.
La licuadora tritura por completo los ingredientes. Como resultado, conserva toda la fibra y produce bebidas más espesas, similares a un batido.
Los extractores centrífugos utilizan cuchillas que giran a gran velocidad para separar el jugo de la pulpa. Son rápidos y prácticos cuando el tiempo es limitado, aunque el jugo suele incorporar más aire durante el proceso.
Mientras tanto, un extractor lento o de prensado en frío obtiene el jugo presionando lentamente los ingredientes a bajas RPM. Este sistema genera menos calor y menos oxidación durante la extracción, por lo que el jugo mantiene un sabor muy fresco y una textura más uniforme.
Cómo cambia la consistencia del jugo y la sensación al tomarlo
La textura también influye en la experiencia de cada persona.
Hay quienes disfrutan los batidos más densos porque conservan toda la fibra de los ingredientes. Otros, en cambio, prefieren jugos más ligeros, especialmente cuando buscan una bebida fresca después de una comida.
Los extractores centrífugos suelen producir jugos que se separan con mayor rapidez entre la parte líquida y la espuma. En un extractor de prensado en frío, la consistencia suele ser más homogénea, lo que hace que el jugo conserve mejor su textura durante más tiempo.
Al final, lo que importa es elegir el tipo de bebida que más disfrutas y que mejor se adapta a lo que buscas en ese momento.

Un extractor de prensado en frío como opción para jugos más ligeros y fáciles de digerir
Cuando preparo este tipo de recetas, suelo preferir un extractor de prensado en frío porque permite obtener jugos con una textura muy agradable y un sabor que se mantiene muy cercano al de los ingredientes frescos.
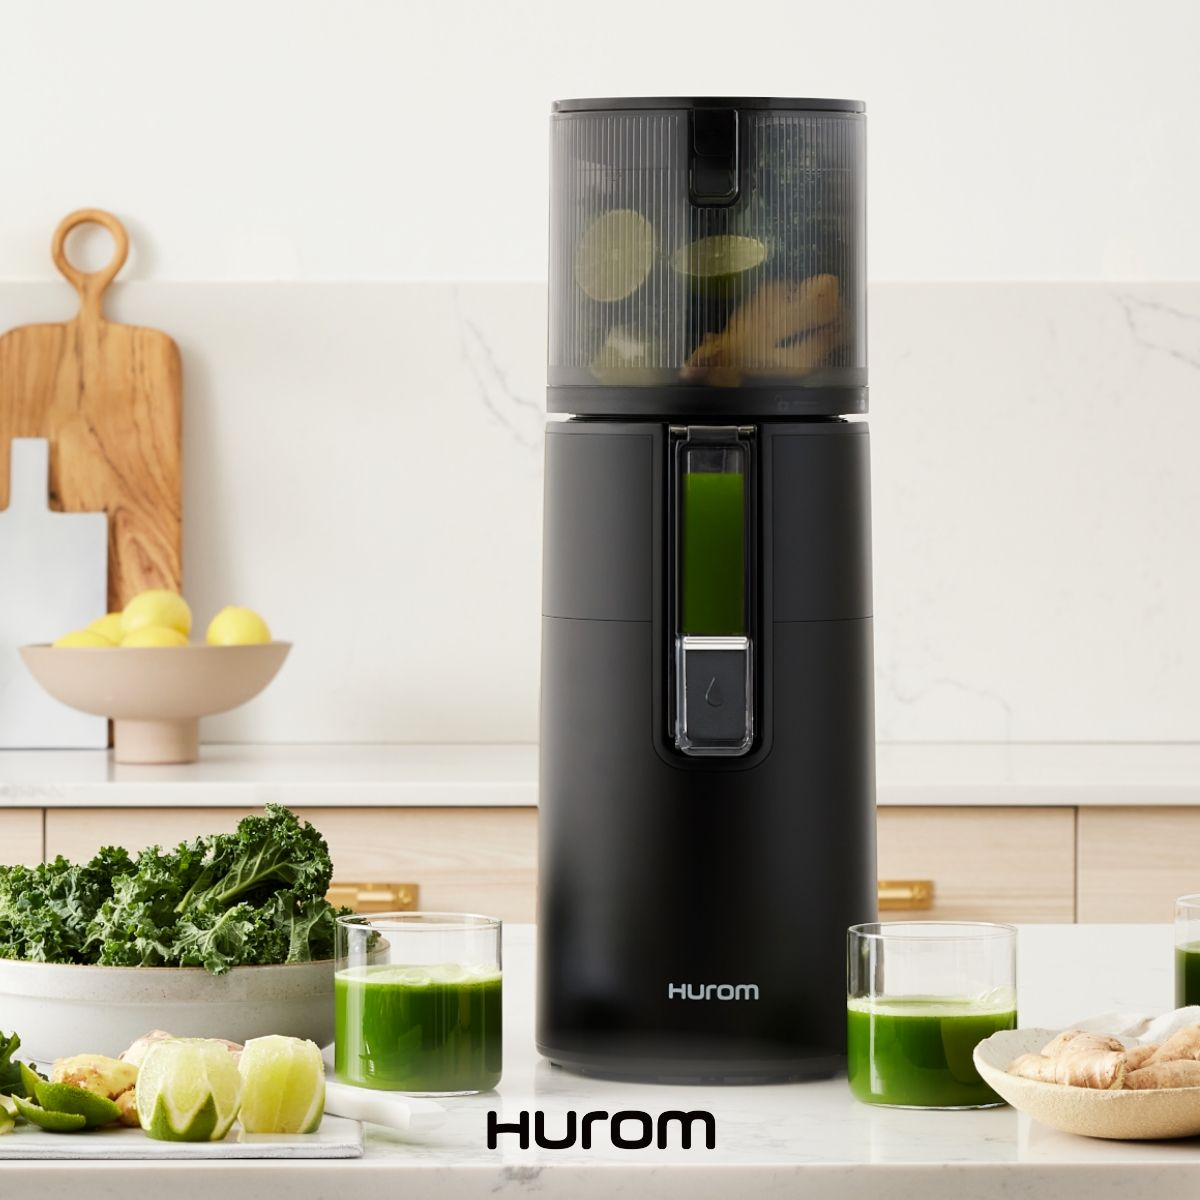
En el caso de Hurom, su tecnología patentada Slow Squeeze realiza la extracción lentamente, entre 40 y 90 RPM, imitando el movimiento del prensado manual. Ese proceso ayuda a reducir el calor y la oxidación durante la preparación, preservando mejor el sabor natural de frutas y verduras.
Además, modelos de la línea Easy Clean (como los Hurom H400, H310, H80 y H70) eliminan los filtros tradicionales para simplificar la limpieza. Si preparar jugos forma parte de tu rutina, ese tipo de detalles puede hacer que resulte mucho más fácil mantener el hábito con el paso del tiempo.

Hábitos simples que ayudan a reducir la inflamación estomacal
Si algo he aprendido preparando jugos, es que ninguno hace todo el trabajo por sí solo. Pueden ser un muy buen complemento, pero la diferencia suele aparecer cuando también cambias algunos hábitos del día a día.
La buena noticia es que no hace falta transformar toda tu rutina de un momento a otro. Muchas veces, pequeños cambios sostenidos terminan dando mejores resultados que intentar hacerlo todo perfecto durante una semana.
Estas son algunas ideas que vale la pena poner en práctica:
-
Come sin prisas. Darle tiempo a cada bocado ayuda a que la digestión sea más cómoda. Además, reduces la cantidad de aire que tragas mientras comes, algo que también puede influir en la sensación de hinchazón.
-
Fíjate en los alimentos que no te sientan bien. No todos reaccionamos igual. Un ingrediente que a otra persona le cae perfecto puede hacerte sentir pesado a ti. Prestar atención a esos patrones te ayudará a tomar mejores decisiones la próxima vez.
-
No esperes a tener muchísima hambre para comer. Cuando llegamos a la mesa con demasiada hambre, es más fácil terminar comiendo rápido y en cantidades mayores de las que realmente necesitamos.
-
Mantente hidratado durante el día. El agua sigue siendo una de las mejores aliadas de una buena digestión. Los jugos pueden sumar, pero no reemplazan una hidratación adecuada.
No hace falta aplicar todo al mismo tiempo. Puedes empezar por un cambio pequeño, ver cómo responde tu cuerpo y, a partir de ahí, ir construyendo una rutina que realmente puedas mantener.

Los pequeños cambios en tu rutina pueden ayudarte a sentirte más ligero
La inflamación abdominal puede tener muchas causas, así que no existe una receta que funcione igual para todo el mundo. Sin embargo, sí hay algo que suele marcar la diferencia: prestar atención a lo que comes y construir hábitos que puedas mantener con el tiempo.
Estas recetas son un buen punto de partida para incorporar ingredientes frescos a tu alimentación y descubrir cuáles hacen que te sientas mejor. Puedes probarlas en distintos momentos del día, ajustar las combinaciones según tus gustos y convertirlas en parte de una rutina que disfrutes.
Si preparar jugos se vuelve un hábito, un exprimidor Hurom puede ayudarte a hacerlo de forma sencilla y a sacar el máximo partido de una gran variedad de frutas, verduras y raíces.
A fin de cuentas, lo que importa es encontrar pequeños cambios que funcionen para ti y que hagan que cuidar tu digestión resulte mucho más fácil.
FAQs
Siempre me siento hinchado después del almuerzo. ¿Cuál es el mejor jugo para desinflamar el estómago sin tomar pastillas?
Si esa sensación aparece casi todos los días, vale la pena revisar primero qué estás comiendo y cómo lo estás haciendo. Dicho eso, recetas como la de papaya, manzana y arándanos azules o la de hinojo, pera y jengibre pueden ser buenas opciones después del almuerzo.
Si las molestias son frecuentes o muy intensas, lo mejor es consultar con un profesional de salud para encontrar la causa.
¿Cuándo es mejor tomar un jugo para desinflamar el estómago?
No hay una única respuesta. Algunas personas prefieren un jugo verde por la mañana para empezar el día con algo ligero. Otras sienten que les funciona mejor después del almuerzo o la cena.
Lo importante es encontrar el momento que mejor encaje con tu rutina y recordar que el jugo acompaña una alimentación equilibrada; no la reemplaza.
¿Cómo preparar un jugo que ayude a desinflamar o calmar el estómago?
Empieza con ingredientes frescos como pepino, apio, papaya, piña, kiwi, jengibre o hinojo. Después, solo tienes que combinarlos en un extractor de prensado en frío siguiendo la receta que más te llame la atención.
Si vas con poco tiempo por las mañanas, también puedes dejar algunas preparaciones listas con antelación, como los cubitos de kiwi y jengibre que vimos antes.
¿Qué puedo tomar en ayunas para desinflamar el abdomen?
Un jugo verde con pepino, apio, limón o kiwi puede ser una forma refrescante de comenzar el día. Eso sí, si notas que algún ingrediente te produce molestias o tienes una condición digestiva diagnosticada, conviene ajustar la receta según tu caso.
¿Puedo tomar jugo verde si tengo gastritis?
Depende de cómo reaccione tu organismo y de los ingredientes que lleve el jugo. Algunas personas prefieren recetas más suaves, mientras que otras no toleran tan bien los cítricos o el jengibre.
Si tienes gastritis, lo más recomendable es seguir las indicaciones de tu profesional de salud antes de hacer cambios importantes en tu alimentación.
¿Cómo puedo reducir rápidamente la hinchazón del estómago?
No existe un remedio que funcione igual para todo el mundo. Sin embargo, comer con más calma, mantenerte hidratado, evitar comidas muy pesadas y elegir preparaciones más ligeras pueden ayudarte a sentirte mejor.
Si la hinchazón aparece de forma constante o viene acompañada de otros síntomas, es importante buscar atención médica.
¿Qué recetas de jugos son más efectivas para desinflamar el estómago en casa?
Las recetas que compartimos antes son un buen punto de partida porque utilizan ingredientes que se han estudiado por su relación con la digestión y la salud intestinal.
Mi consejo es que las pruebes poco a poco. Así podrás descubrir cuáles disfrutas más y cuáles hacen que te sientas mejor, porque al final cada sistema digestivo responde de una manera distinta.